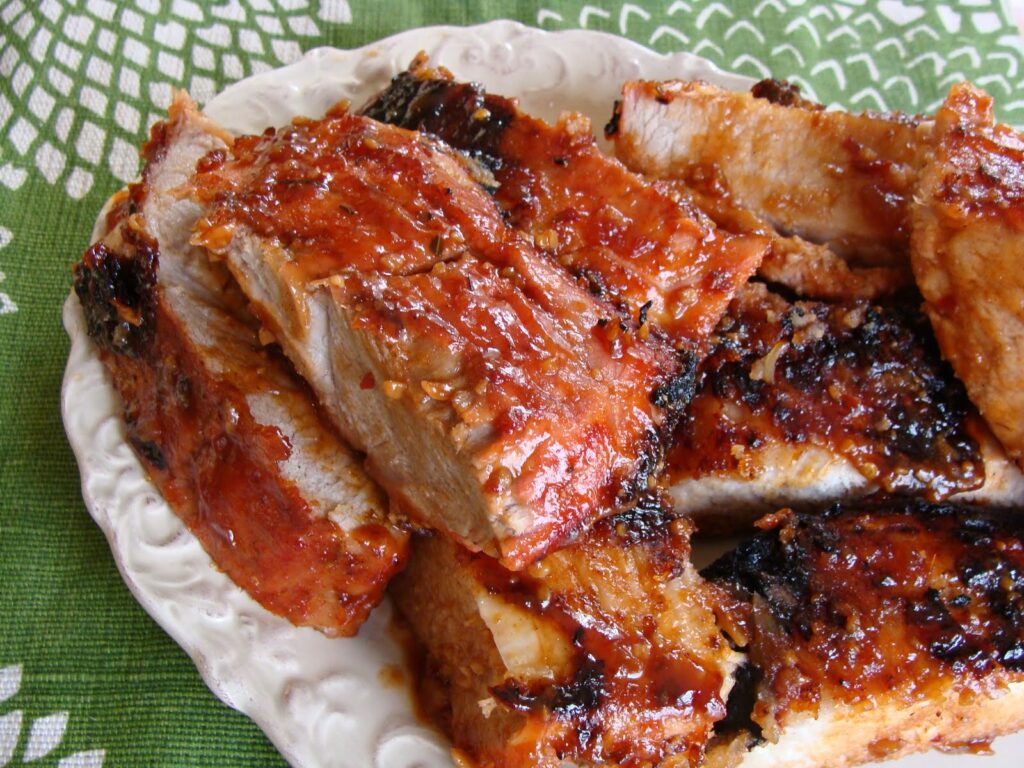
#1–One Barbecue Sauce, Three Ways
Most regular barbeque sauces are nothing more than ketchup, some added vinegar, spice, brown sugar and maybe a bit of Worcestershire and garlic powder. You can basically whip this stuff up on your own. Whether homemade or not, good ol’ basic barbeque sauce can easily transform into Asian-style with the addition of a little sesame oil and soy, or just add some teriyaki sauce. For spicy, just add chili powder and a bit of Sriracha, Tabasco, or Cholula. For super-peppery wings, add fresh cracked black pepper. Now, having regular chicken wings right alongside super-spicy ones is oh-so-easy. Make it even easier on yourself by following the tip below.
 #2–Freezer Bags Are Your Friend
From short-ribs to steaks to chicken wings, all of them can be loaded into freezer bags with generous lathers of sauce for an easy, overnight marinade. If you’re into dry rubs, just rub away and store in freezer bags. Same goes for liquid based marinades in which case, you’ll want sure-lock bags and the added security of a platter or cookie sheet underneath in case of spills.
#3–You Can Cheat

Want a great carne asada marinade? Well rather than playing Test Kitchen Chef, just go with the pros on this. Call up your local Mexican carneceria, market or restaurant. Many of them sell their marinade by the pint or gallon. Beans, rice, and fresh tortillas are other options you might want to consider too.
#4–Easy Potatoes
Sure, I know someone is going to tell me off for this but I’m just going to have to come right out and say it, so brace yourself: Microwave-cooked-potatoes make a better potato salad. I’ve tried it again and again and when it comes to making a better potato salad with the right texture potatoes, the microwave just does the trick. Smaller potatoes will usually take around 2:30 to 3 minutes to cook, larger ones 4-5 minutes. Test out your microwave on one potato to get the correct cooking time. Then to do microwave batches of 3 potatoes at a time, multiply that time by 1.5. Also, rinsed and dried potatoes, forked lightly work much better than wet potatoes, so dry them off.
If you must boil, proceed but leave the skins on! Start with COLD, salted water and boil for 13-16 minutes. Test with a fork for readiness. Fork tines should go in relatively easily but potatoes should still be relatively firm. Drain pot and remove potatoes. Lay them out in a row, in a sort of production line formation. Allow to cool for 5 minutes. Then, wearing latex gloves, you can easily slide the skins right off of the potatoes. Move to a plastic storage container and refrigerate to cool, about 20 minutes.
 #5–Easy-Peel Hard-Boiled Eggs
- Cover store-bought eggs with about two inches of water which is basically just past the knuckle of your index finger for most of us.
- Add one full tablespoon of salt to the water. This will help toughen the internal membrane inside the egg i.e. that white filmy stuff that’s so hard to separate from the egg!
- Bring water to a rolling boil over high heat.
- The moment eggs start to boil, set timer for 2 minutes.
- Once two minutes have passed, cover saucepan with lid and let sit for exactly 11 minutes.
- While you’re waiting on the eggs to cool to their optimum temperature, prepare an ice bath. If you do it 5 minutes ahead of time, the bath will be nice and cold for the eggs’ final dunk.
- Carefully remove eggs one by one and place them in the ice bath. Allow to cool for at least 3 minutes, although longer is fine.
- Peel by tapping with a teaspoon, creating large cracks along the egg. Slide off shell. Dip in ice bath to remove any small bits of shell.
- Give the eggs one last rinse under cool running water, prior to storing in fridge or using.
Bonus–Easy Clean Up
Believe it or not, guests generally want to be helpful! Get two plastic tubs, the kind that fits in a sink or basin. Fill one with warm, soapy water. Leave another empty. Please these on a separate table away from the food. Place a trash can next to the table and just watch how people clean up after themselves!
Well I hope I’ve helped at least some of you have an easier, more enjoyable Independence Day! Remember, with this holiday, less is often more. Just stick to the basics and chill out and enjoy!
Until next time…
Happy Eating!